Monday, February 28, 2011

Ditra - not something you order off the Indian menu...

I'm ready for Ditra. This is a big deal. It means I'm about to tile the floor. This of course begs the question, what is Ditra. Well it's orange. Really orange. Not enough detail? Fine then. Ditra is from my friends at Schluter who also brought us that old time hit Kerdi (the other orange stuff I used when tiling the shower). Where Kerdi is basically like a fabric used for water-proofing vertical surfaces, Ditra is an uncoupling membrane for floor tiles. The back of the Ditra is a felt fabric that sticks to the mortar bonding it to the floor. The top of the Ditra is covered in square depressions that once filled with mortar form a mechanical bond to hold the tile in place. Now here's the neat part - if the floor moves for any reason, the Ditra absorbs the movement. That means that the tile and grout won't crack and since I'm using 12x24 inch tiles that's a big deal to me. First step is to lay out the Ditra and cut the sheets to shape for a dryfit:


When it came to the tub I had the sense to make a cardboard template of the curve of the tub before I installed it. This made making the curve quite easy and will be used again to help with the cutting of the tiles that will also need to match the tub curve.

With the Ditra cut to shape, it's time to stick it down. Ditra is adhered to the floor using a modified (latex added) thinset and an unmodified (no latex) thinset between the Ditra and the tile (don't mix those up - you'll have drying issues). I've marked on the floor where the first sheet of Ditra ends, so after mixing my mortar I spread some out on the floor and use a 1/4 x 1/4 inch notched trowel (Schluter recommends a 1/4 x 3/16 "V" notched trowel but they are basically only made my Schulter, so the norm is to use a 1/4 x 1/4):


Notice that I only but it down over half the floor. That's because you don't want to wrestle with mortar under the full sheet. BTW, aren't the patterns pretty:


So what you do is roll up your Ditra, lay it over the section you have the mortar under, use a grout float to smooth it out and ensure good bonding, then roll the other end of the Ditra up and apply mortar to then section:


Then rinse and repeat for the other sheets. The advantage of the Ditra is that because it's on a horizontal surface, you can start tiling right away without having to wait for the mortar to dry (as you do with the Kerdi which is on a vertical surface so that makes sense). However, by the time I got all the Ditra down it was getting late and I didn't want to spend all night tiling, particularly when I have to make what I suspect will be some pretty gnarly curved cuts. So the layout and tile starts tomorrow...

Sunday, February 27, 2011

Squeaky squashes a squeak...nothing like Horton Hears a Who...

Well I've emerged from my white, dusty hell and I cannot find the words to express my happiness. As you can see here, the drywall is done:


Here are my top 5 lessons learned when it comes to mudding drywall:

1. Hire someone. Seriously. Of all the things I've done on this reno, this is the only one where I would pay to have someone else do this. It's just so dusty and sweaty and if you get a pro they will have it done in 1/3 the time and 1/3 the mess.

2. Less is more - and then less again. The more you put on, the more you have to take off. That sounds simple but doing it in practice is not so simple. Still, if you're doing your own mudding, try to remember it.

3. Hire someone. Have you not seen on all the Holmes and DIY Disaster shows where the hosts leave the mudding to pros or the homeowner? There's a reason for that. The hosts know better and want nothing to do with it.

4. Buy a vacuum attachment for sanding. You can get these most places and basically your sanding block (the pro kind that uses sheets of wire mesh) hooks into a Shop-Vac. Really cuts down on the dust (it's insidious) and helps with the breathing.

5. Hire someone. I shouldn't need to explain this anymore.

With the walls done, I looked to the floor. I had two issues to deal with - a squeak and a dip. The floor had a wicked squeak and now was the time to fix it. Basically impossible to fix once the tile is down. Also, there was a dip on one side of the room where the floor went down about 1/8 of an inch. This could be solved with some self-leveling compound or a scratch coat of mortar, either way I was going to deal with the squeak first.

The first thing to do was find the joists beneath the floor because you won't get much satisfaction from screwing straight through the floor and not actually getting the joist. I measured off the wall, used a stud sensor and figured out where a joist should be. I then put a 2 1/2 inch flooring screw in and went downstairs to check my accuracy. If my goal was to put the screw exactly between two joists, I would have won first prize. As it was, that was not what I was going for and so did not make the podium. On the plus side, I could now measure the distance from the screw to the joists, go back upstairs and layout for where the joists really were.

Knowing that I was actually hitting the mark now, I drove in about 20 - 30 screws and lo and behold the squeaks were gone. And there was a bonus too; the floor was now level. Looks like the floor bowed up in the middle over time which caused both the squeaks and the floor to drop off on one side. Once I screwed the floor tight to the joists, the floor leveled out. So, no need for self leveling compound and one little victory for Team Squeaky.

With the floor squeak free and level, I had to patch a few depressions that resulted from my wonderful experience with glue remover many posts ago. A little Planipatch (a patching compound) mixed fairly dry, spread with a tongue depressor and leveled with a 5 inch trowel and the damage was patched:


So now that the floor is all ready, it's time to move on to Ditra - the orangest orange you have ever seen and tomorrow's entry...

Sunday, February 20, 2011

Dante was wrong...there are 10 circles of hell...he missed drywalling...

Seriously, I'm not sure what sin you have to commit to get to the tenth ring of hell, but I can tell you that once there your eternal damnation will be in the form of applying infinite coats of drywall mud and then an equal number of times will you be condemned to sand it. And like Sisyphus pushing that boulder, everytime you think you're done you'll notice a ridge, or a dip,a ripple, or something else that makes you put another coat of mud on knowing that the next day you'll be entering a fresh, white, powdery hell of your own making.

Let me describe my recent world. You balance on a step ladder, in a small room with 4 light bulbs, the door shut and no other ventilation. You stare at hard, drywall compound on the wall and wonder how you managed to cock it up that badly. It looked okay last night. Then you start sanding. Back and forth. Back and forth. Back and forth. Time has no meaning. It's like a training session with Mr. Miyagi gone horribly wrong. Ralph Macchio isn't there, so at least that's something I suppose. Soon your shoulders start to hurt like you've been throwing baseballs all day long. The air is thick with a fine, white dust. To protect your lungs you're wearing a mask but it doesn't let enough air in so you constantly feel like you're going to suffocate. Work too hard and your heart races, crying out for more air. I felt like Homer Simpson trying to do...well...to do anything really. But the best part, the best, is the sweat mixing with the powder on your skin and hair. There is nothing like getting little drywall compound balls hardening in the corner of your eyes. Second to that is sporting the new fashion look - plaster of Paris hair. Even with a bandanna on, it still gets in. And my beard? Oh you don't want to know what that does. It's like the hair is wet and frozen, except it's hot and sticky.

So this has been my world for the last while. And you wonder why I haven't written? BUT it's getting better. Just a final coat and a light sanding (please let it be a light sanding) and I'm ready for paint. There are more things beyond that, but I don't have the heart to plan that far ahead, not while I've got my while hell waiting for me...

PS - if you think this is laid on thick, imagine the pain of my parents when I was a teenager :)

Tuesday, February 15, 2011

Not dead...

The rumours of my death are greatly exaggerated. That's not to say it hasn't felt like I'm dying. No I've been in the process of mudding the drywall and I took a few days off from the bathroom for the first time in 3 weeks. That being said, I'm back at it now and hoping to have some significant updates soon. Here is the battle plan:

A couple more nights of mudding, then a light sand.
Prime the whole room.
Get the ceiling and walls painted.
Lay the Ditra on the floor.
Cut and lay the tile.
Grout the tile.

I'm hoping to have all that done by the end of the coming weekend. Truth of the matter is being back to work really cuts down the time I have in the evenings to get things done so it's slow going. However, I do have a functioning shower now so I've come to discover that the greatest indicator of being human is the ability to have a shower. Stay tuned, there is more to come...

Monday, February 7, 2011

Progress!!

Well it's not a long post tonight, but it is a significant one. I've got the shower tiled and grouted!! Yay!! Tomorrow I caulk, and add some more trim and then once everything has dried fully I get to take a shower. It will be sad to give up the rag and stick that has kept me company so long now, but I think it's a necessary step to move on.

Here's a quick shot of the shower, I've used 13"x13" tiles with a glass penny round tile as an accent. When I say "I" I mean that "I" put then up, and the Task Mistress picked them out in her great co-ordinating wisdom (can you tell it was suggested that I make an edit?). Lighting is crappy; it looks even better in the flesh. Also walls are still wet where I've been wiping off the grout haze:


I have to say I'm pretty happy thus far. When the trim is on, the caulking is done and the hardware and shower curtain are in I might actually smile. But only for a minute.

Saturday, February 5, 2011

Calm before the storm?

Today has been a productive day (indicating that tomorrow all hell will break loose). I got the first coat of tape and mud on the walls (seams, corners and screw holes). For the DIYers, I used a self-adhesive fiber tape for all the seams, and a paper tape for all the corners. For mud I've been using Durabond 90 hot mud which is meant for repairs so it hardens to a rock-like consistency that can't really be sanded. It's called a hot mud because it comes as a powder and you mix it yourself. Unlike pre-mixed mud which dries via evaporation, hot mud dries via a chemical reaction. It will dry and harden in 90 minutes regardless of anything else. You just can't stop it. Why use that? Two reasons: First, because it's so hard, it really aids in preventing cracks. Second, mould don't like it. In fact, mould won't grow on it so big plus there. And with drying times of just a few hours it means you can get a couple coats on in a day. The rest of the mudding will also be a hot mud - Sheetrock 90 - but it's meant to be sanded so I can get a nice flair. Final coat will be a pre-mixed ultra smooth top coat.


With the taping done and the mudding started I decided to tackle the Kerdi membrane in the shower alcove. If you're not familiar with it Kerdi is that orange stuff you see all being using on the shower walls in all those DIY shows. It's a waterproof membrane that adheres via unmodified thinset to the backer boards. Like drywall, you tape the seams (using thinset instead of mud) and and once you're done  you've got a waterproof membrane to attach your tiles to.


And that is the next phase - tiling. Gosh, I really can't wait so see if I can't screw up take on the challenge of tiling a shower. Yeah, this should be fun...

Drywall is the Xanax of renovations...

Well after many delays which I won't bore you with...wait..who am I kidding. If I had to suffer, so do you:

Delay #1 - Pipes that I couldn't leave alone.

In the process of doing the reno I encountered two supply lines that looked like they could go any day. Sea foam green is not the colour you want copper pipes to be.


So completely outside of my reno plans I had to replace them. Then there were the other two pipes which I screwed may have affected as well. Are any of you old enough to remember camping as a kid in a canvas tent? You know the ones where if it was raining and you dared to defy the commandment of your father and touch the canvas you created your own little interior waterfall? Weren't those fun? Well if you're stupid curious enough to rub the lightly corroded sections of a copper pipe to see how bad it is you do the exact same thing. So I promptly created two pipes with pinhole leaks. Yay me. These also had to be replaced.

Delay #2 - Lazy morons

My bathroom has a linen closet with a 30" bi-fold door which I was replacing (frame and all). When I tore the trim and frame off I discovered a truly neat fact - the framing was done by lazy morons. They framed for a 34" door, decided that was too big, stuck in a 30" door and made the 4" inches up with 2" of shims on either side of the frame. I'm serious. There was like a whole cedar tree of shims in there. I would have taken a picture but I was afraid that some rubber boot wearing, tree hugging, Duckworth Lunch eating granola would hold me responsible for deforestation. And if you get the Duckworth Lunch eating reference you are both cool and a little old and obviously local. Needless to say I wasn't using a cedar tree to fix the issue. No I'd do something incredibly daring and novel - I'd stick a freakin' 2x4 in there and shim it like a normal person. But oh no, that would be too simple. Turns out that every 2x4 in the bathroom is not the standard nominal 3 1/2" but actually 3 3/8". I don't even know how that could happen. What it did mean was that I am very lucky to have a large cabinet saw and a big workshop to rip the studs down. Having put another stud in the opening I both fixed the issue and saved a whole cedar tree. However the only shims I could get were the really long ones so after I trimmed them I probably killed two cedar trees. Whoops.

Delay #3 - The other taps broke

Yup. I go to brush my teeth and find that there's no pressure coming out of the taps in the ensuite bathroom. There is however lots of water running over my toes. Indoor sprinklers are not on my list of new features I wanted to add. I checked twice. Not only that but the cheap screw-type shutoff valves didn't work either so I had to shut the water to the house off instead. As an important side note allow be to impart you with this little tidbit... $5 shutoffs from Canadian Tire are shit less than the best.  They will leak, they will fail. They use a screw with a rubber gasket to make a seal and the screw is plastic. The combination almost certainly guarantees failure if you have to turn it off and on more than once in your lifetime. Get a ball-type shutoff valve with a lever not a screw (Dahl is a great brand). They seal well, and pretty much don't wear out.  But I digress, back to the story at hand. The failure of the taps and shut-offs meant that instead of working on the bathroom I was renovating I had to disconnect the ensuite taps, pull the sink, replace the taps, get new connections and shut-offs, put the whole thing back together and only then could I get back to the main bathroom. Except now that I'm back in the office I pretty much chewed up my whole night on the ensuite and have no time for the reno.

So, with the delays over I started drywalling the bathroom. The ceiling was already done so it wasn't too bad doing the walls except for one which had 5 cutouts for a receptacle, light and plumbing. That was a little more tricky. I had originally planned on putting a strip of Aqua Tough drywall  (a sheet rock product rated for use in wet areas) on either side of the bathtub alcove (as if there is going to be any water build up that's where it will be from splashes in the tub or not having the shower curtain pulled all the way) and then cement board for the actual alcove itself. I even put one piece of cement board up. One was enough.

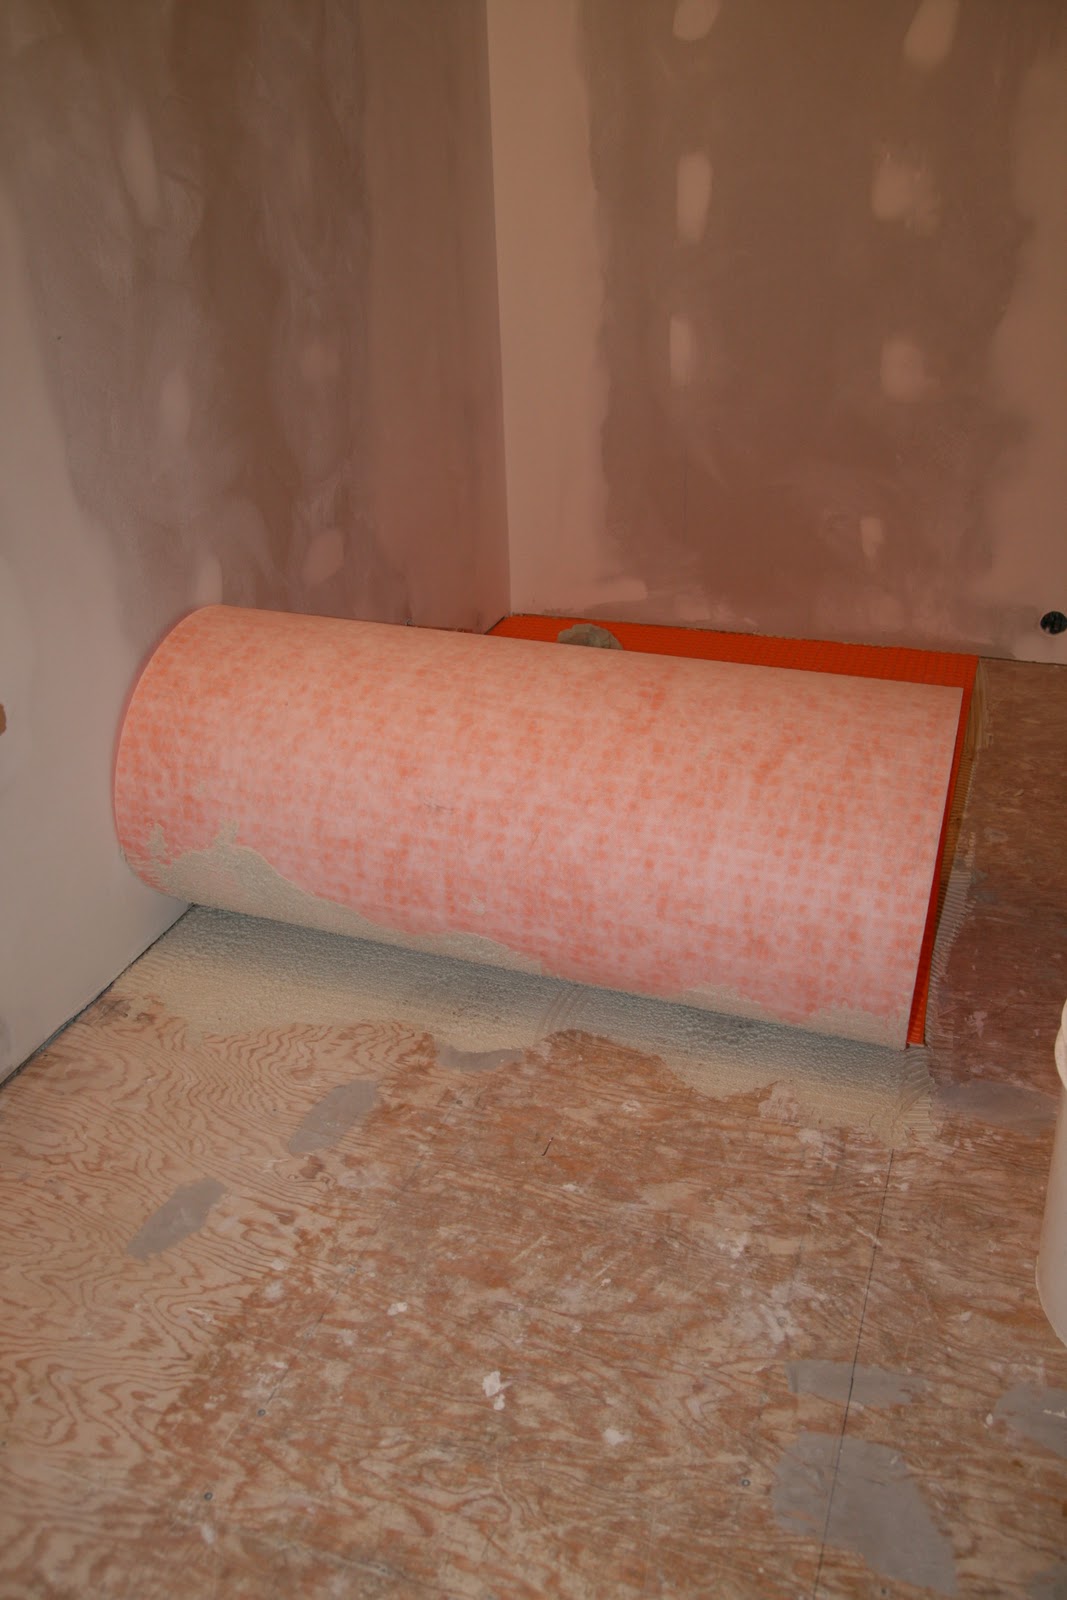
Cement board is totally waterproof and mould cannot grow on it. Aqua Tough is highly water and mould resistant, but not waterproof and not mould proof. So why use Aqua Tough instead of cement board? Because cement board is a real pain to work with. It's cement. It's not just a catching marketing name. Even 3x5 sheets are very heavy, you need carbide tools to score or cut it. And if you have to drill openings the dust is insane. And if you need to trim a sheet down a little, well, good luck with that. Aqua Tough is a gypsum based product, but there is no paper membrane (the paper is what mould loves to eat) and it's rated for contact in wet areas specifically showers. Since I'm going to put Kerdi waterproof membrane over the backerboards anyway, I don't see any issues from using Aqua Tough and it's just so much easier to work with than cement board. That being said, if anyone wants to buy some cement board at a good price it's ridiculously easy to work with and extremely light. The cement name is just for marketing, really it's made from fluffy stuff from NASA. Honest.

So here I am with all the drywall and Aqua Tough on the walls and the doors framed out and the bathroom is starting to look like a room again not a full-on demolition site.


Standing there in that moment I took my metaphorical Xanax and felt calmer knowing that it was starting to come together. Then I got a splinter in my foot from the plywood floor and called myself an idiot for walking in there in my bare feet anyway.

Next step, adventures in mudding and taping sheetrock. Thrilling stuff I know. Will I mix it to the right consistency? Will it set up in the bucket before I get a chance to put it all on the walls? These and other thrilling questions will be answered in my next post. Same Bat channel, not exactly sure what Bat time...