


When it came to the tub I had the sense to make a cardboard template of the curve of the tub before I installed it. This made making the curve quite easy and will be used again to help with the cutting of the tiles that will also need to match the tub curve.
With the Ditra cut to shape, it's time to stick it down. Ditra is adhered to the floor using a modified (latex added) thinset and an unmodified (no latex) thinset between the Ditra and the tile (don't mix those up - you'll have drying issues). I've marked on the floor where the first sheet of Ditra ends, so after mixing my mortar I spread some out on the floor and use a 1/4 x 1/4 inch notched trowel (Schluter recommends a 1/4 x 3/16 "V" notched trowel but they are basically only made my Schulter, so the norm is to use a 1/4 x 1/4):

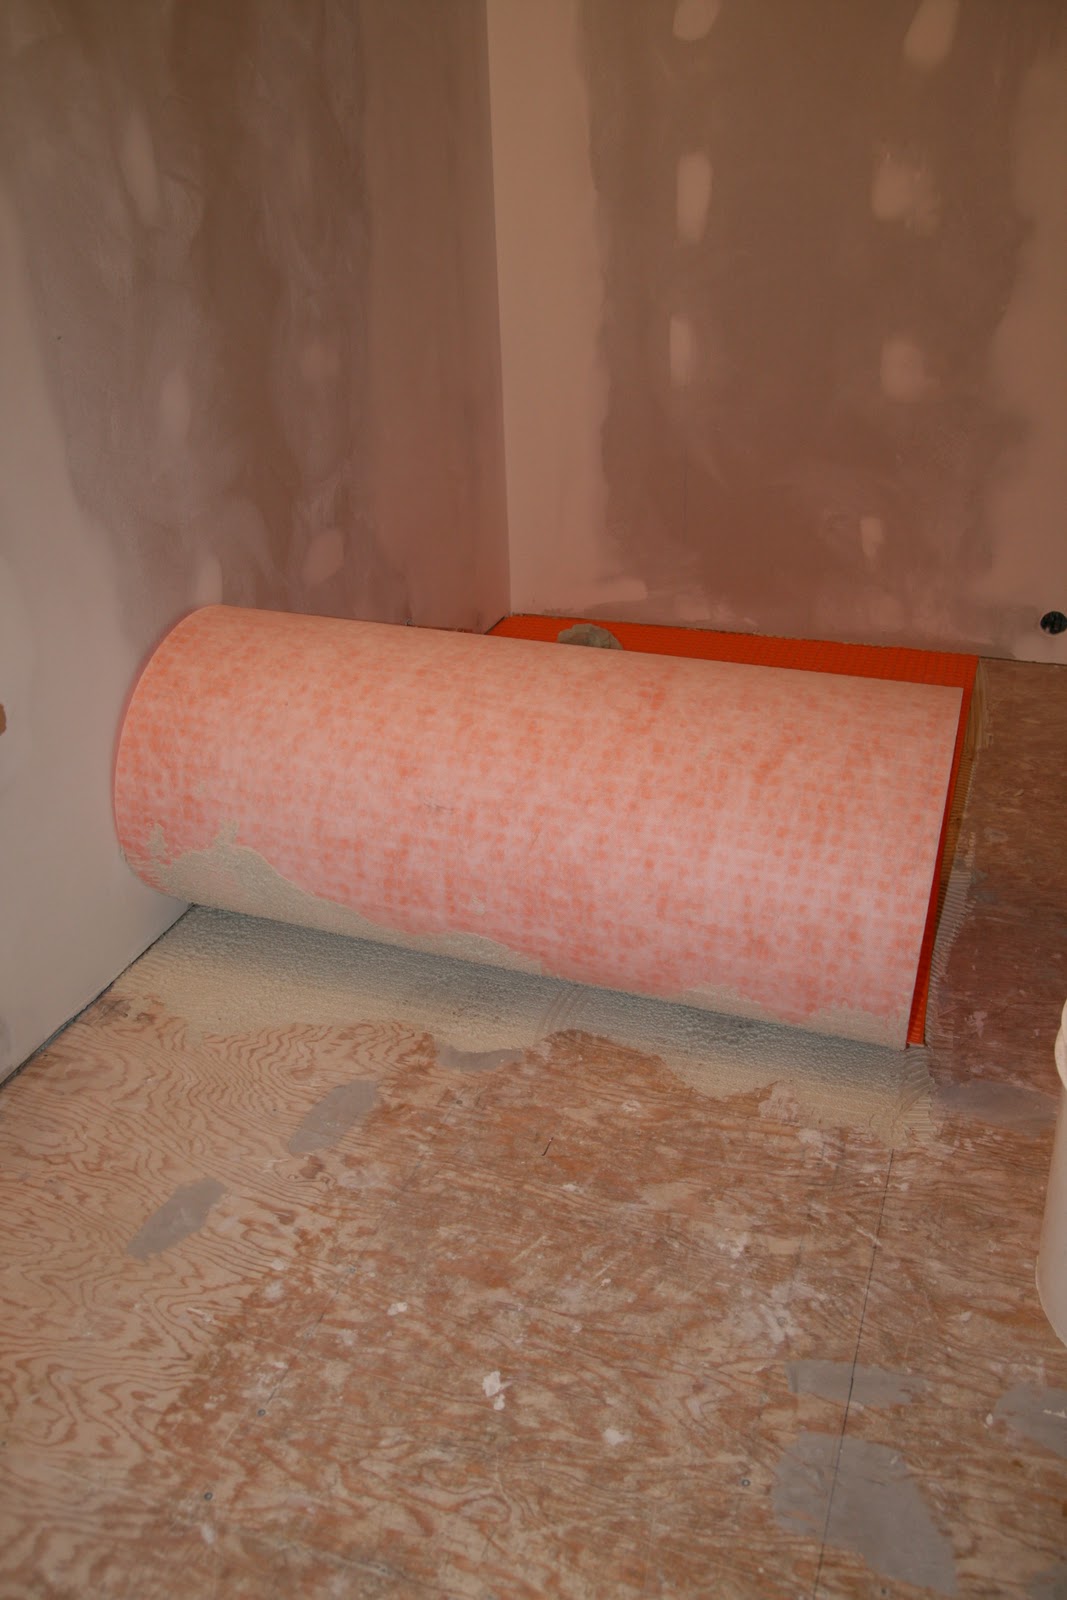
Notice that I only but it down over half the floor. That's because you don't want to wrestle with mortar under the full sheet. BTW, aren't the patterns pretty:

So what you do is roll up your Ditra, lay it over the section you have the mortar under, use a grout float to smooth it out and ensure good bonding, then roll the other end of the Ditra up and apply mortar to then section:
Then rinse and repeat for the other sheets. The advantage of the Ditra is that because it's on a horizontal surface, you can start tiling right away without having to wait for the mortar to dry (as you do with the Kerdi which is on a vertical surface so that makes sense). However, by the time I got all the Ditra down it was getting late and I didn't want to spend all night tiling, particularly when I have to make what I suspect will be some pretty gnarly curved cuts. So the layout and tile starts tomorrow...
No comments:
Post a Comment